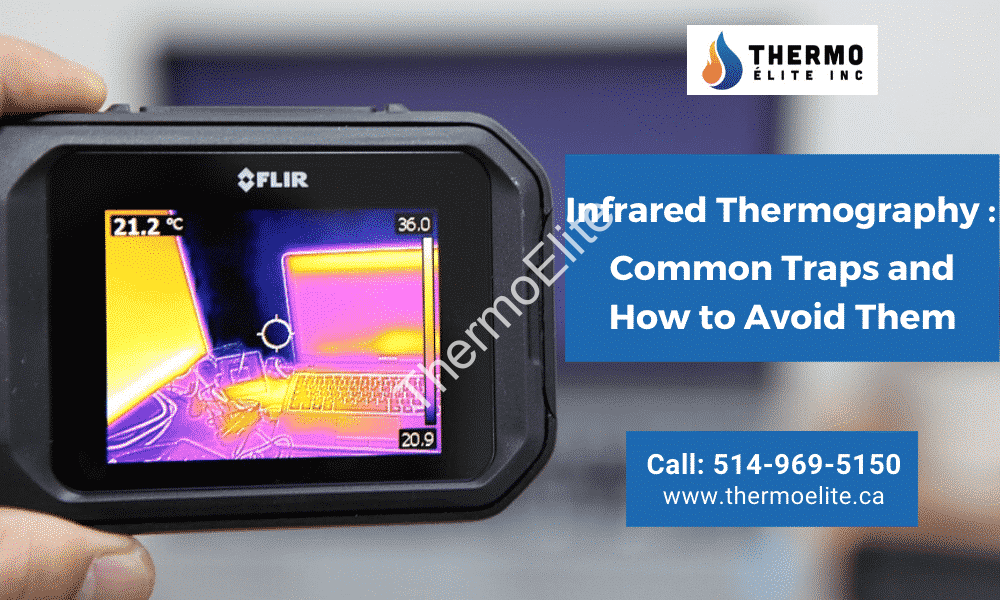
Infrared thermography or IR has been a condition monitoring staple for the last couple of decades, often being the very initiation into reliability programs. It’s gained quite a bit of a reputation as an effective technology even beyond condition based maintenance and condition monitoring.
It still comes with a few constraints though. The forming of an understanding of these very constraints lay the foundation of techniques to avoid falling into the usual traps of infrared thermography technology. While there are many of these traps, this article focuses on the most common of them.
Before getting into the conversation, we shall look into how infrared thermography evolved. There’s a general belief that primarily the police and the defense forces use it. It should be noted here that the portrayal of the use of the infrared thermography technology by the defense forces and the police is somewhat exaggerated.
The credit for using IR detection technology for any purpose should go to the US military. They used this technology in developing detection systems meant for the surface, air and sea as gar back as the 1950s and 1960s. It was made commercially available only in the late 1960s.
However, the devices were still not affordable for many and carrying them around was difficult. A number of inventions that occurred gave birth to handheld infrared thermography imagers during the 1970s and the 1980s. Many changes were brought about in the device sizes and their components.
The imagers required frequent cooling with the use of liquid gases or on board compressors. It was quite troublesome and a solution came about with a revolutionary change. It was the discovery of the focal plane array (FPA) that which would cool easily that brought about a sea change in the use of infrared thermography imagers. These were also much smaller in size in comparison to the earlier handheld devices. These devices made IR technology accessible to all as they cost much less than the handheld devices that were available initially.
It is worth knowing here that infrared thermography imagers are can detect only a part of an entire electromagnetic spectrum which cannot be seen by our naked eyes. Energy that has wavelengths ranging between 0.75 microns and 300 microns comprise spectrum of infrared radiation. It should be kept in mind that a micron is one-millionth of a meter. Our hair is usually around 100 microns thick.
Energy leaving a surface can be detected by IR imagers, which are passive instruments. It is observed that any surface with a temperature of what is commonly called an absolute zero emits IR radiation. An absolute zero temperature has been decided to be set at -273.15°C.
When the surface temperature is higher, the amount of energy emitted is also higher. They are directly proportional. You need to keep in mind that IR radiation is reflected by all surfaces, which is why there is no surface that acts as a perfect emitter. An infrared thermography device is not capable of capturing what a surface emits naturally and what it reflects. The natural emission of a surface is related to its temperature. These imagers can detect only total thermal radiosity.
Infrared Thermography and its Common Traps
After infrared thermography imagers were made easy to use and affordable, they started being used widely. They are also reliable and can carry out condition monitoring properly. The enigma surrounding the use of infrared thermography imagers is the most common reason why thermographers fall into the common traps associated with the use of the technology.
It is very important that a thermogrpaher has some basic knowledge of the way an infrared thermography imager works. That would be a major help when it comes to avoiding falling into the most common of the traps. This article takes a peek into them.
Failure to Understand the Resolution
All infrared thermography devices have certain limitations when it comes to what they can detect and capture. How much the spots of a certain size can be seen or measured depends on a combination of imager resolutions and optics. Telephoto lenses can help capture and measure spots from distances that are greater than the imager’s maximum range of view. However, many infrared these telephoto lenses are not compatible with many of the imagers.
As such, it is important to know if the task that needs to be done can be performed with an imager of a certain resolution. Most devices have a resolution value of 320×240 and 160×120. These values are mentioned in the specifications sheet. These should be checked thoroughly before purchase.
Some imagers come with a very high resolution of 640×480 which reflects the number of elements in an FPA detector. When the resolution is high, the number of elements is high too. When the imager’s resolution I s high at 640×480, a focal plane array will have as many as 307,200 single detector elements. The distance at which an imager can locate spots and measure them is more when the resolution is high.
Failing to Note Ambient Conditions
Measuring temperature can be affected by factors like variances in air temperature, wind, sunlight and precipitation. While inspections are carried out as per a schedule, none has control over the elements. It would be ideal to make a note of these to make sure that they get due consideration when the report is prepared.
Nevertheless, extreme conditions should be avoided. Wind at a speed of 15mph can reduce the delta existing between two surfaces by almost half. One might overlook a certain irregularity that would have otherwise been noticed when there is a strong wind blowing.
Again, a surface can get heated to a temperature much higher than its normal one when under direct sunlight. Therefore, it is advised that inspection of surfaces be done away from direct sunlight. However, this does not imply that the inspections can be carried out after sundown. Early morning inspections are always the best because the sun is not directly above the surface during the early hours of the day.
Ambient temperature plays an important role here. When the ambient temperature is low, the surface cools quickly. Items should be compared only when their approximate air temperature is equal.
Ignoring Cold Components
The belief that thermographic inspections involve the search of what is called a ‘hot spot’ is not always true. Current is known to generate heat in all electrical systems. The heat may be abnormal or normal.
The way they operate often heats up certain components in an electrical system. That’s why an electrical system will stay warm during its use. Compression and friction creates heat in mechanical systems. This heat again may be normal or abnormal.
During the inspection of electrical power systems, it is important to keep power factors like correction capacitors warm. A cold correction capacitor has no current flow passing through it. It is likely that this is the bad actor. Again, during the inspection of a steam trap, a correction capacitor might not be cycling. It is this cold item that might have been causing problems.
Excessive Focus on Apparent Surface Temperature
It is a commonly held misconception that infrared thermographic imagers are very accurate when it comes to measuring temperatures. When measuring temperatures, the resolution of the imager, ambient conditions, the surface condition such as its emissivity have a considerable bearing on the accuracy of the imager.
The greatest advantage of these devices is the fact that they give a visual representation of surface temperature. There’s a basic rule that applies to inspecting components in a system. One should not focus only on the apparent temperature. It should instead be on the difference shown in the thermal pattern. When components are being compared, any component that looks different is most likely to be the cause behind all trouble. Temperature should be of less concern as all the relevant information is contained in the visual representation.
Use of Only Infrared Thermography
Many condition monitoring programs unfortunately revolve only around infrared thermography. That’s because it is an affordable technology that is easy to use. Despite the fact that it is a remarkable technology, every failure mode being located at the earliest stages by infrared thermography is impossible.
There are various technologies that include lubricant analysis, motor circuit analysis, and vibration analysis which give impressively accurate results. Combining some of these technologies is the best way to carry out an inspection. Failure modes can be spotted at their early stages when processes to test reliability, like failure modes analysis and criticality analysis are applied. That also helps decide which of the different technologies should be adopted and how the inspection is to be carried out. Once the failure modes are identified at the earliest stages, the inspection will surely give reliable results.
The findings made with the use of infrared thermography technology may be compared with the findings made using other technologies. It could also be the other way around. That helps in smooth flow of ideas, information, and easy communication across the team monitoring the condition as well as the entire facility.
Infrared thermography has various applications. It is used in energy management, improvement of efficiency in manufacturing, raise safety level of workers and also help improve the quality of products. In fact, new applications for infrared thermography are emerging continuously.
Infrared thermography has many uses and applications. Right from defense forces to common men, the spectrum of users is really wide.
Today, infrared thermography is also used in the field of medical treatment. It helps detect cancer early and locate what is causing arthritis in a patient. Early detection of problems in muscles and bones has also been made possible by this technology. Even in the field of metallurgy, infrared thermography has important applications. They help detect any defect that may exist in insulation and help reduce energy consumption. The technology is also used to locate cracks and leakages that help a great deal in maintaining safety in manufacturing plants. It is also widely used in the field of security. It not only helps in capturing any movement, it helps in smoke detection as well, and checking if any weapons or chemicals are being carried by anyone.
Detection of leakages in pipes is done widely with the use of infrared thermography technology. With water conservation becoming increasingly necessary, detection of leakages helps a great deal in avoiding wastage.
With infrared thermography devices having been made accessible to all, collecting thermal information with using thermal images is getting easier day by day. The results are in your computer in a flash at just the push of a button. Proper interpretation of the results of an inspection is very important. This is where a thermographer comes into the picture. It is expected that a maintenance staff personnel will not understand infrared thermography. A good thermographer would therefore make all the data gathered easily understandable to the maintenance staff. That calls for a combination of education and experience.
In this article, we’ve delved into the traps that a thermographer usually finds itself in. To avoid these, possessing a fundamental understanding of how the technology of infrared thermography works is vital. Certain practices like combining technologies to arrive at results and taking note of ambient conditions should be made a habit. These good practices should be adhered to. Owing to the various applications of infrared thermography technology, the role of a thermographer is assuming greater significance. This article sheds light on how one can avoid the traps of infrared thermography that thermographers tend to fall into. It helps in more effective use of the technology.


Add Comment