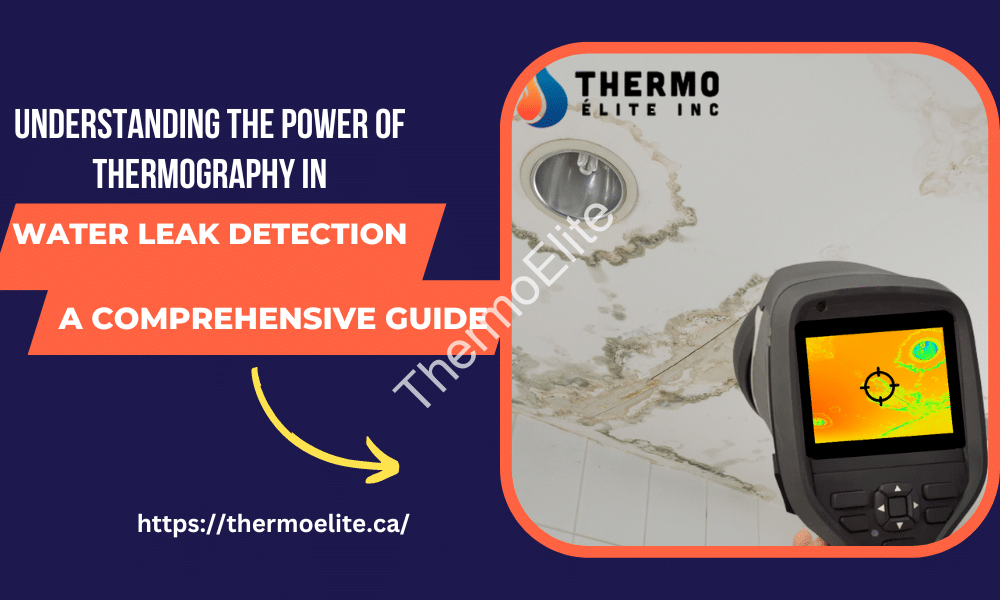
Using thermography (IR) cameras, infrared radiation from an item is measured and recorded. It may detect thermal differences brought on by water leaks on the pavement’s surface. In addition, it allows relatively large regions to be effectively examined in less time and thus at a cheaper cost than current leak identification techniques. The size or kind of the pipe has no bearing on it. It can be used during the day as well as night for a variety of lead detection activities. These benefits make IR cameras a viable alternative to conventional leak detection techniques. Infrared examinations or thermography are the terms typically used for thermographic examinations.
The visualization in infrared photographs can be impacted by a number of variables, including weather, humidity, wind, or elements with exceptionally high or low temperatures, which lessen the contrast. The untrained eye may also find it difficult to determine whether something is occurring in the image. To achieve accurate and successful results, there are a number of essential actions that must be taken prior to a thermographic inspection for water leak detection.
Here’s A Guide on How to Prepare for A Thermographic Inspection for Water Leak Detection:
Identify Areas of Concern:
Determine the specific areas where water leaks or moisture issues are suspected or have been reported. This could include walls, ceilings, floors, plumbing fixtures, or any other areas where water intrusion is likely.
Notify Occupants:
Inform the occupants or residents of the building about the upcoming thermographic inspection. This allows them to be prepared for any necessary access to their spaces and helps ensure the inspection proceeds smoothly.
Conduct Initial Visual Inspection:
Before the thermographic inspection, conduct a visual inspection of the areas of concern. Look for any visible signs of water damage, moisture stains, mold growth, or other indicators of water leaks. This will provide a baseline assessment and help guide the thermal imaging process.
Schedule the Inspection:
Coordinate with a qualified thermographer or inspection service provider to schedule the inspection. Ensure that they have experience in water leak detection using thermal imaging.
Prepare the Environment:
Ensure that the building or space is at its normal operating conditions. This includes maintaining typical temperature and humidity levels. If possible, create a temperature differential by running hot or cold water, depending on the suspected source of the leak. This will help highlight any temperature variations during the inspection.
Clear Access:
Ensure that the areas to be inspected are accessible. Clear any obstacles or clutter that may obstruct the view or limit access to surfaces, such as furniture, storage items, or equipment.
Provide Lighting:
Ensure adequate lighting for the inspection. Well-lit areas enhance the quality of thermal images and facilitate accurate interpretation.
Inform About Recent Maintenance or Repairs:
If any recent repairs, maintenance work, or modifications have been performed in the areas to be inspected, inform the thermographer about these activities. This information can help in the interpretation of thermal patterns and potential sources of water leaks.
Document Relevant Information:
Prepare and provide any relevant documentation related to the building, such as construction plans, maintenance records, or previous water leak reports. This information can assist the thermographer in understanding the building’s layout and history.
Collaborate with the Thermographer:
When the thermographer arrives, communicate your concerns, provide details about the areas of interest, and share any specific information that may help guide the inspection.
By following these preparation steps, you can help ensure that the thermographic inspection for water leak detection is conducted efficiently and effectively. Collaboration and communication with the thermographer are key to achieving accurate results and identifying potential sources of water leaks or moisture intrusion in the building.
The Process of Thermographic Inspections Typically Involves the Following Steps:
• Preparation: Ensure that the object or system is in its normal operating condition, and the ambient conditions are suitable for accurate thermal imaging.
• Scanning: Use the thermal camera to scan the target area or object, capturing thermal images or videos from different angles and distances. It is important to cover all relevant areas and components.
• Image Analysis: Analyze the collected thermal images, identifying temperature variations, anomalies, or patterns that may indicate underlying issues. Trained professionals interpret the images to identify potential problems or abnormalities.
• Interpretation: Interpret the findings in the context of the specific application, considering the object’s expected temperature distribution and any relevant standards or guidelines. Anomalies or temperature variations are compared to reference values or known normal conditions to determine if corrective action is required.
• Reporting: Document the inspection results in a comprehensive report, including the identified issues, recommended actions, and any necessary follow-up inspections. Images and thermal data may be included in the report to provide visual evidence of the findings.
Thermographic inspections offer several benefits, including non-destructive testing, rapid and remote inspections, early detection of issues, and comprehensive analysis of temperature patterns. However, it is important to consider the limitations of thermography, such as environmental factors influencing measurements and the need for trained professionals to interpret thermal images accurately. Overall, thermographic inspections are a valuable tool in various industries for preventive maintenance, energy efficiency assessment, and identifying potential issues before they lead to costly failures or downtime.
Infrared Camera: What Is It?
The infrared radiation (heat) released by objects or surfaces is captured and visualized by an infrared camera, sometimes referred to as a thermal imaging camera or a thermographic camera. Infrared cameras can detect and display temperature fluctuations and thermal patterns since they work in the infrared spectrum as opposed to conventional cameras, which only record visible light. Infrared cameras are widely used in various fields, including building inspections, electrical inspections, mechanical inspections, research and development, firefighting, medical imaging, and security applications. They are valuable tools for detecting heat-related issues, monitoring temperature patterns, and conducting non-destructive testing and analysis in a wide range of industries and scenarios.
How Can Water Leaks Be Found with An Infrared Camera?
You can adhere to these measures to efficiently use an infrared camera to find water leaks:
Set Up the Environment:
1. Make sure the region is functioning normally before you investigate it. This entails turning on HVAC units, giving the environment some time to stabilize, and maintaining normal humidity levels.
2. Make sure there is a difference in temperature between the water source (such as the roof or plumbing) and the surroundings. Depending on the probable leak source, this might be done by running hot or cold water or by waiting for the rain too wet the roof.
Infrared Camera Setup:
1. Consult the user manual to get a handle on how the camera works and how to adjust the settings.
2. Set the camera’s temperature range to reflect the anticipated temperature differences.
3. To improve the precision of temperature measurements, change camera settings like emissivity (a measurement of the object’s capacity to emit thermal radiation) and reflected temperature.
Performing the Inspection:
1. Start using the infrared camera to scan the potential problem location. Pay close attention to surfaces including ceilings, walls, floors, and the area around plumbing fixtures where water leaks are most likely to happen.
2. Ensure that the target area is adequately covered by moving the camera slowly and smoothly. Pay attention to the thermal patterns and temperature variations seen on the camera’s screen.
3. Keep an eye out for temperature anomalies, such as warmer or cooler places, which may point to the presence of moisture or water. Wet materials may cool more quickly than dry ones or cooler areas may be a sign of water incursion. However, if heat is produced as a result of microbial development or insulation saturation, warm areas may also indicate wetness.
4. Take thermal photos or movies of temperature-sensitive locations.
Interpret the Thermal Images:
1. Analyze the captured thermal images and videos. Look for consistent temperature patterns or anomalies that suggest water leaks or moisture intrusion.
2. Compare the areas with temperature variations to reference areas or known normal conditions to determine the significance of the findings.
3. Keep in mind that thermal imaging alone may not provide conclusive evidence of water leaks. Additional verification methods, such as moisture meters or invasive testing, may be necessary to confirm the presence and source of the water leak.
Document and Report:
1. Document your findings, including the location of temperature anomalies and suspected water leaks, along with any relevant notes or observations.
2. Generate a comprehensive report that includes the thermal images, annotated areas of interest, and recommended actions for further investigation or repair.
The study of infrared imaging methods is known as IR thermography. It is discovered using infrared cameras that display infrared light with a wavelength range of 900–1400 nanometres. The thermogram is the term for this image. Both residential and commercial establishments may experience serious issues with water leaks. They may result in structural harm, the growth of mold, and higher water costs. To lessen these problems, leaks must be quickly identified and fixed. Thermography is an effective method that can help find water leaks. This extensive manual will cover the basics, benefits, drawbacks, and best practices of thermography as it relates to water leak detection.


Add Comment