Are you tired of unreliable inspections and costly downtime?
Discover how thermal imaging cameras can revolutionize your electrical and mechanical inspections and help you detect hidden issues with ease!
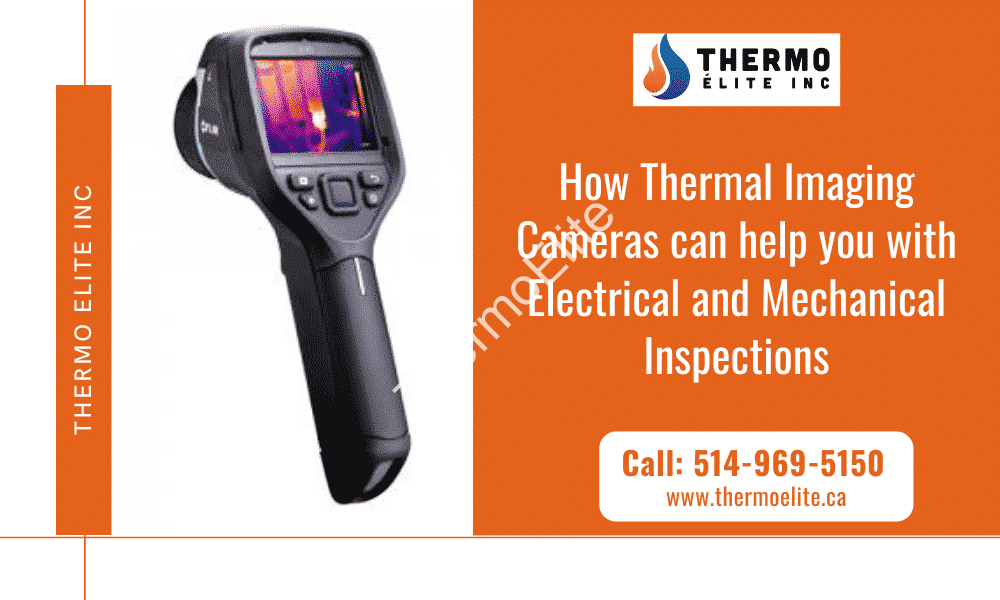
Thermal imaging is visualizing heat radiations emitted by objects and is captured through a thermal imaging device. Infrared technology offers the operators to detect abnormal heat, the inefficiency of machine equipment, electrical distributions, and to diagnose the potential defects leading to loss of machine assets within the system.
With the help of thermal imaging cameras, you can measure machine equipment’s performance to reduce wear and tear of the machines, failures, repair costs, and improving the longevity of machine items. Infrared cameras can help you spot the machines’ uniformity and electrical assets by indicating hot and cold temperatures on surfaces and objects.
Thermography in Electronic and Electrical Industry
Electrical distribution and electrical systems can exceptionally benefit from infrared imaging. Infrared technology prevents direct human contact with the electrical systems, equipment, and circuits, so diagnosing and detecting the real problem becomes easy without switching off the power flow. The common problems dealt with by the maintenance people regularly are:
- Overheated bushing
- Poor contacts
- Blocked cooling passages
- Loose connections
Electrical thermography can offer great help to manufacturing industries for diagnosing abnormal heating issues, line inspections, tank levels, boards, and circuits.
Inspections of Mechanical Components
Thermal imaging scanners help in safely detection of significant problems in various mechanical components without even touching them. The usefulness of thermal imaging in the mechanical industries are diverse, although not limited to:
- Finding overheating issues related to bearings, fans, compressors, blowers, increased discharge temperature, etc.
- Locating blocked air coolers, combustion engines, and radiator tubes.
- Identify clogged condenser and air leakage in systems.
Thermography in Material Testing
Infrared imaging provides a unique tool in diagnosing the structural conditions and material testing through non-contactable methods. As we are aware of the fact that every object in this world emits radiations when its inner temperature is above absolute zero. Infrared imaging devices can help you with material testing possible as it avoids touching the machine panels, circuits, and boards directly.
Infrared Thermography in Plant Inspections
To maintain the highest standard of quality at plants or production sites, regular inspection through infrared imaging can prevent potential accidents and ensure workers’ safety. Predictive maintenance through infrared cameras helps to find and rectify the faults in both manufacturing and electronic components.
Thermal Inspection Methods
Thermal imaging inspection is not the final solution to fix every issue related to electrical distribution and mechanical equipment. You need to match the exact inspection method with the level of your inspection required for special equipment. To cover most of the situations, there are three methods with which you can do the inspections:
- Baseline Thermography–Baseline thermography refers to a condition when a machine is commissioned into the plant. It works in the right way with no malfunctions; you can use it as a referral point for future inspections. This referral point can act as a breakthrough in diagnosing the real problem. Baseline thermography helps you in comparing the abnormal and normal functionality of the equipment.
- Trending Thermography – After you have set the baseline thermography, you can move into trending thermography. With this method, you can compare the same mechanical equipment’s temperature distributions over time and time. This gives you a better idea to detect the decreasing performance of the equipment to schedule the maintenance program of the equipment as per the timeline.
- Comparative Thermography –This method says that you can compare the thermography results obtained from the same components with your infrared cameras under similar situations. Comparative thermography expects you to compare the same components under similar conditions with similar temperature distribution with similar load capacity. After gaining three or more components, it becomes relatively easy on your part to pick the wrong side of the equipment.
Asset Maintenance and Troubleshooting
Asset maintenance and troubleshooting are the real backbones of any mechanical and electrical industry. For future preventive maintenance, infrared scanners are useful to both diagnosing the issue and condition monitoring. When you are using these imaging devices, you can take these measurements of the mechanical part’s different temperature profiles.
- What to check –It is recommended that you should check the motors when they are generally operating under functional conditions. An infrared thermometer only provides the temperature to you at a single point. The infrared cameras can capture multi-points at a single opportunity, for all the significant components, like, shaft, motors, shaft-bearings, motors, shaft coupling, and gearbox. You need to note that each motor is designed to function at a specific internal temperature, meaning that mechanical components should not get as hot as motor housing.
- What to look for –It is not possible for the infrared scanners to see the inside of the motor. The temperature of the exterior surface is an indicator of the temperature inside the motor. Whenever the motor gets hotter inside, the motor also gets hotter outside. Therefore, a qualified professional who has better knowledge about motors can use infrared thermography to detect conditions like insulation failure, impending bearing failure, inadequate airflow, and shaft coupling problems.
When you suspect that overheating is the likely problem, then you must consider the following actions below:
- Insulation failure– If the insulation failure is not affecting the production, then it is better to replace the motor by following the guidelines set by NEMA standards. You need to generate a work order to replace the older motor with the new one.
- Impending bearing failure– Overheating bearing through infrared scanning is a sign which needs a maintenance order to lubricate the bearing or replace the bearing. There is also another option of vibration analysis, which often helps decide the best course of action.
- Inadequate airflow – For cleaning the intake grills, if possible, you can shut down the motor for a longer time to do this. You can also schedule a cleaning process of the motor in the next scheduled shutdown.
Benefits of Thermal Imaging Technology
- Saves Client’s money – One of the premium benefits of thermal imaging devices is that they can easily detect the fault lines, loose connections, overheating, and disruptive components at an early phase. The company plans to carry out the repair work within the planned maintenance window. This early problem identification leads to saving a considerable amount in repair work and equipment breakdown costs.
- Zero to minimal down-time–Since the thermal imaging involves zero to minimal contact with the boards, circuits, and other components with the direct human touch, it helps the thermographers to carry out the inspections works without disturbing the daily routine of the plant.
- Revolutionizing Predictive Maintenance – Workplace safety, productivity, and profitability increase automatically since thermal scanners can detect the problems and schedule the maintenance program before a major breakdown occurs.
- Accuracy and Speed –The helpful feature of having a thermal scan is that it provides a quick scan of the components and can measure the abnormal temperature distribution under typical load situations. Therefore, the need for lengthy preparation and the pre-inspection job is also minimal.
Infrared and Preventive Maintenance
Infrared thermography is useful and is a highly suggestive prevention maintenance tool, both in electrical and mechanical industries. There is hardly any tool that provides you accurate and real-time information without disturbing the normal flow of operations to switching off your systems. Implementing the need for thermal scanners into your scheduled maintenance program is an excellent method to detect the abnormality in machine tools and components so quickly. Using the baseline thermography will offer you a set of images for comparing the current problems to detect future problems.
How to Interpret Infrared Data Correctly?
As stated above, infrared thermography has become a widely used tool for not only in detecting the defective components, but it also helps in preventive maintenance. However, there is a need to interpret the data and the thermographer capabilities correctly; otherwise, it may lead to committing various mistakes that are as follows:
- Focusing Solely on Surface Temperature–Thermal imaging might not show precise temperatures because of ambient temperature. When you are comparing several elements, the part which looks different from others is causing the problem.
- Disregarding cold spots –While it is almost certain that most of the thermographers look for the hot spots, they may not notice that the real problem comes from cold spots. This is very true with steaming and electrical systems. A cold spot means no electricity flow through a capacitor, or the automatic valves are not operating correctly.
- Not understanding resolution –Thermal cameras have certain limitations on what they see and measure. Be sure about the resolution limitations while purchasing a thermal imager.
- Discounting ambient conditions –Before you begin the final measurements, you need to consider the ambient conditions like wind, rain, sunlight, and air temperature. Do note each aspect while measuring and include it in your report. The surfaces are in direct contact with sunlight, try to inspect them out of the sun’s rays to avoid abnormal temperatures.
On a concluding note
Infrared camera technology is a positive step towards maintaining efficient and safe operations at factories and production sites. You must try to include thermographic inspection in your scheduled maintenance program. There is no substitute for its reliability, safety, and accuracy. Plant engineers use this method for failure detection and preventive maintenance planning much before it turns into a larger issue. Ultimately, it saves time, money, and helps in equipment safety and cutting down production loss.


Add Comment